
WASHING
Wool that is lanolized has the unique capacity of self cleaning! The lanolin and urine in the wool react to create a 'soap' of sorts that releases impurities into the air when drying and leaves your wool soft, dry, and smelling wonderfully fresh and natural. It's hard to believe until you have tried it- and then it is always a bit amazing to see it work so well! When the lanolin coating your wool fibers becomes thin from use over time, it is time to wash and relanolize your wrap. You will also need to wash your wrap if it is soiled- and by soiled I mean gets poo on it.
The best way to wash your wrap is by hand in luke warm water with a mild detergent or soap. Wash gently and do not scrub or agitate the fabric together or you might felt your wool- causing it to shrink and thicken. After washing, drain the soapy water and refill your sink with luke-warm water to gently rinse your wrap in. After folding and squeezing (do not wring) the water out, roll your wrap in a towel and press to remove excess water, then hang or lay flat to dry. For difficult stains you can lay the wrap (damp) in the sun to dry for the afternoon, and that should remove the stain.
LANOLIZING
You will need to relanolize your wool on a periodic basis. When the lanolin gets thin on the fibers of your wool, it will not work as well and you will notice the wool becoming more damp as it's water repelling capacity decreases and it absorbs more moisture into the fabric. You know for sure it is time to relanolize when your wool does not smell heavenly pure after it dries. I recommend relanolizing your wool every 2-4 weeks depending upon how often you use it.
A wonderful online tutorial is available to show you how to lanolize your wool made by Laura at UnderstandingLaura.blogspot.com. Here it is! ...
How To Lanolize Wool...Without Lanolin Spots!
How do you know if your cover needs lanolizing?
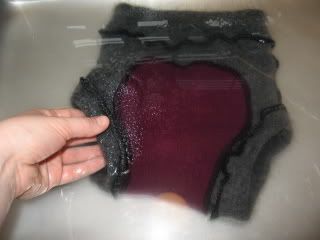
When you wash it, press it into the water. Look for the following signs:
If wool sits on top of the water and has little pools of water gathering on top - it does not need lanolizing.
If wool sits on top of the water and has some pools and some areas that absorbed water without assistance - it could use a good lanolizing soon.
If wool sinks and saturates completely - it is time to lanolize.
Now here's how to lanolize without those pesky lanolin spots. I've been very thorough, so there are quite a few pictures. Have fun!
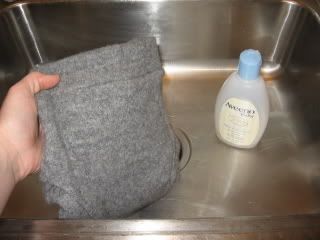
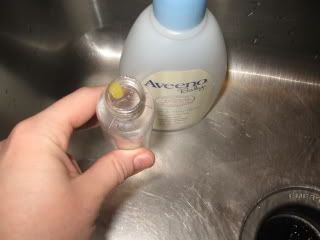
Step 1: Locate wool and wash. I'll be using Aveeno baby wash because Kellie has sensitive skin and I know this doesn't bother her. We avoid any excess scents if possible. Wool-specific wash is available. But when this works, why pay extra?
Step 2: Fill the sink with tepid water. Test with wrist.

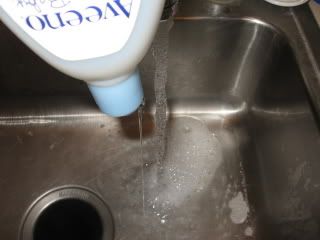
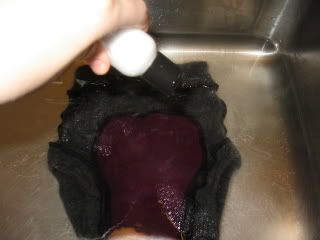
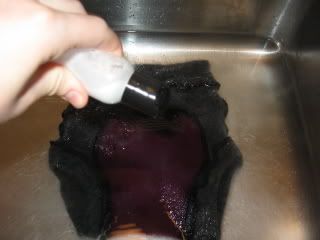
Step 3: Add baby wash.
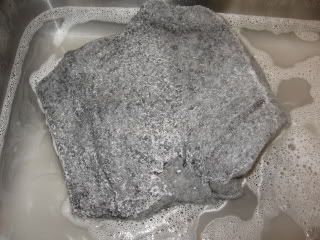
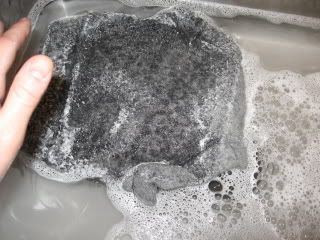
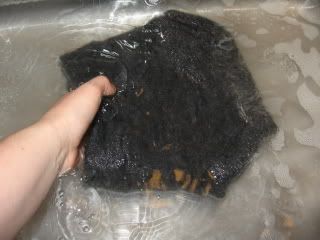
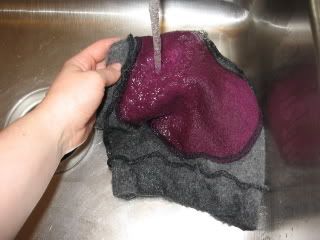
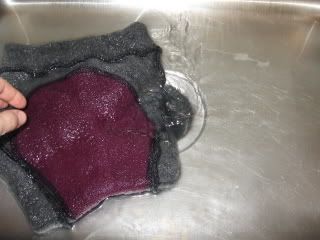
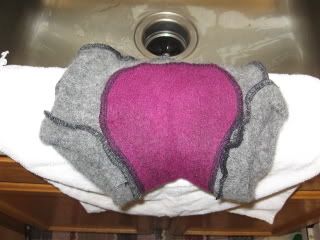
Step 4: Add wool. Notice my wool soaked up water over it's entire body. This cover has never been lanolized.
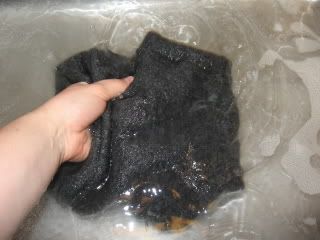
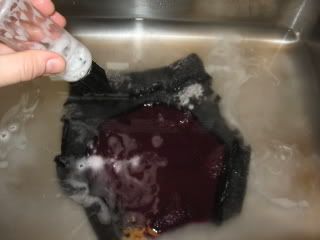
Step 5: Swish wool around a bit. Make some bubbles.
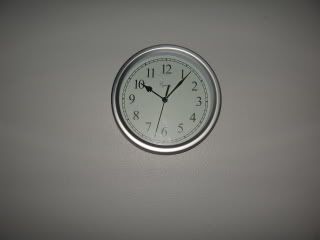
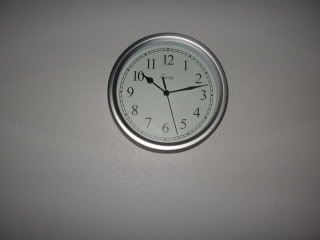
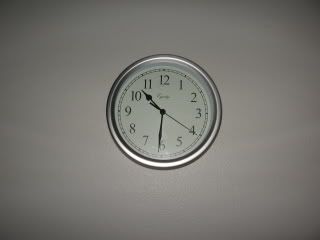
Step 6: Check the clock. Let wool sit for five minutes.
In that five minutes you could:
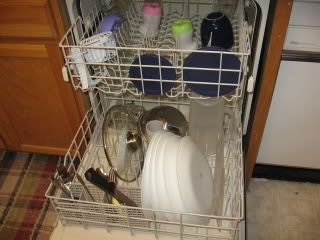
Unload the dishwasher.
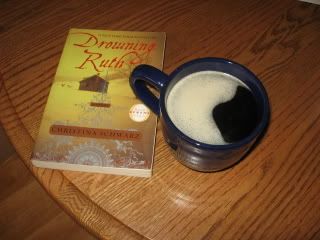
Make a pot of coffee.

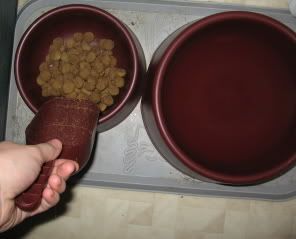
Feed the dog.
Ding! Five minutes are up. Go back to your wool.
Step 8: Swish it around a bit more.

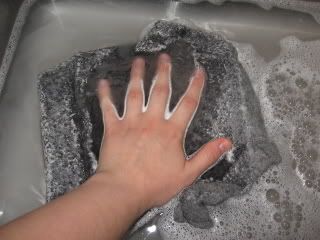
Step 9: Massage gently. Using both hands. Hey, someone has to hold the camera!

Step 10: Turn wool inside out.
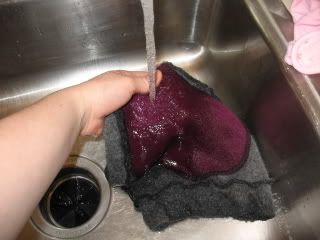
Step 11: Rinse thoroughly in tepid water.
Step 12: Squeeze out excess water. Set aside.
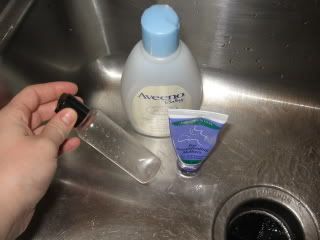
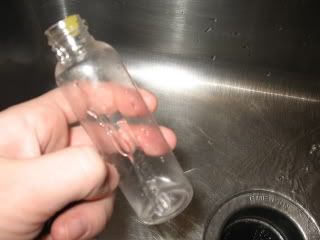
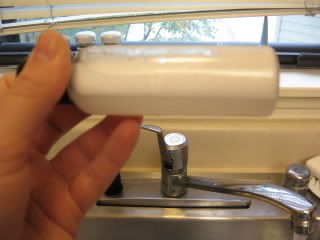
Step 13: Locate your wool wash, your lanolin, and your mixing container with lid. I'm using regular solid lanolin purchased from a local retailer. Liquid lanolin will work, also. But this stuff is cheaper and it lasts longer. Remember, we're cloth diapering to save money.
Step 14: Add a pea-sized drop of lanolin to your mixing container.
Step 15: Add a pea-sized drop of wool wash to your container.
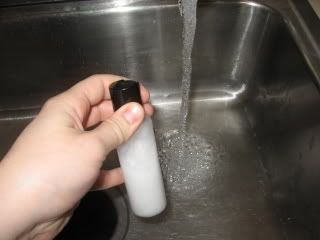
Step 16: Fill halfway with HOT water. As hot as your tap will go.

Step 17: Shake like mad until everything mixes into a nice creamy colored liquid.
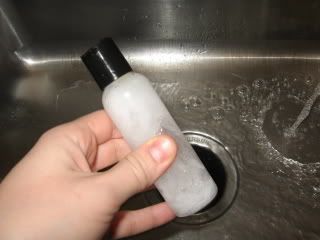
Step 18: Fill sink with tepid water. Continue shaking like mad.
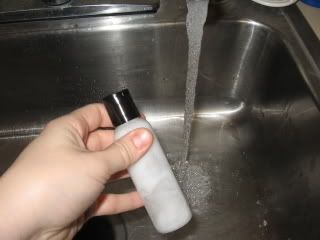

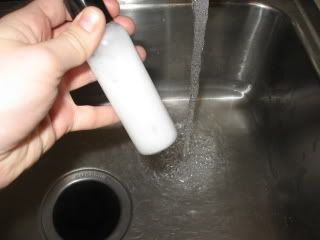
Step 19: Check for nice creamy mixture. No blobs of lanolin left.
Step 20: Put wool into sink full of tepid water.

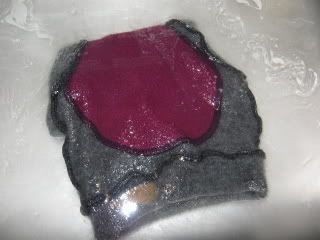
Step 21: Add lanolin mixture a little bit at a time. My container has a squeeze top. If you're using a baby food jar or a tupperware, just try not to add it all in one spot.
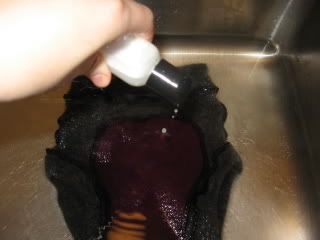

Step 22: Rinse container with tepid water. Pour water into sink with the rest of the lanolin. Every bit counts!
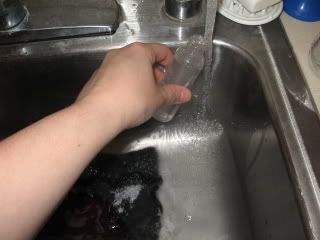
All gone!

Step 23: Swish around your wool a bit. Turn wool over.

Step 24: Let wool sit for five to ten minutes. I chose five because I know Kellie is due to wake up from her nap any minute. If you have ten minutes, go for it.

In that five minutes you could:
Enjoy the cup of coffee you brewed earlier.
Make the dog move out of your chair so you can 'Pin.

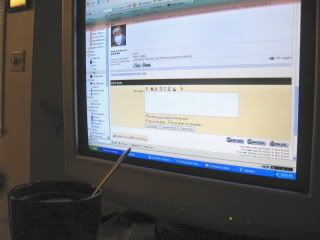
Check your posts.
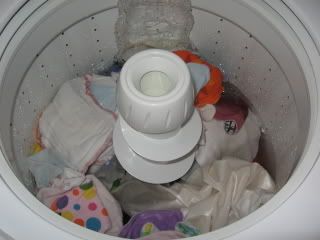
Start a load of diaper laundry.
Ding! Five minutes are up!
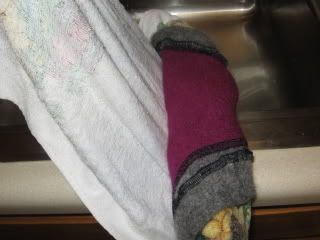
Step 27: Drain the water. Hold onto wool so it doesn't fall into your disposal. Believe me. It happens.
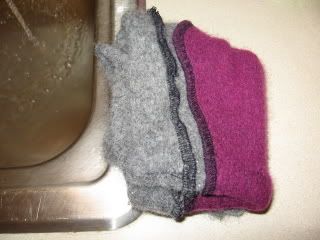
Step 28: Fold wool.
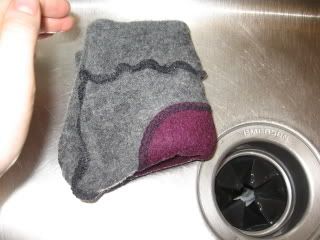
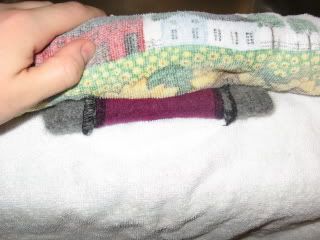
Step 29: Squeeze out excess water.
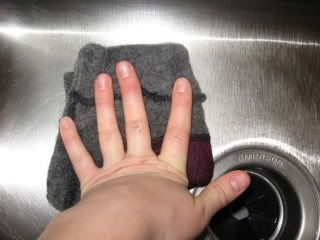
Step 30: Lay wool on towel.
Step 31: Roll it up and squeeze out excess water. It's amazing how much wool can absorb, isn't it??

Step 31: Unroll.
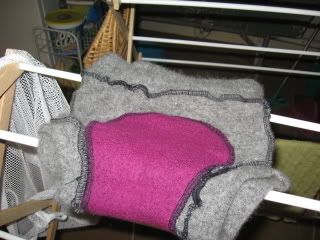
Step 30: Relocate wool to a drying rack or some other well-ventilated area to dry. The drying process can take up to 48 hours. Good thing I didn't take pictures of that, right?
And you're done! You lanolized your wool and didn't get a single lanolin spot! Give yourself a pat on the back. I'm off to get Kellie. She'll be hungry by now.
When you wash it, press it into the water. Look for the following signs:
If wool sits on top of the water and has little pools of water gathering on top - it does not need lanolizing.
If wool sits on top of the water and has some pools and some areas that absorbed water without assistance - it could use a good lanolizing soon.
If wool sinks and saturates completely - it is time to lanolize.
Now here's how to lanolize without those pesky lanolin spots. I've been very thorough, so there are quite a few pictures. Have fun!
Step 1: Locate wool and wash. I'll be using Aveeno baby wash because Kellie has sensitive skin and I know this doesn't bother her. We avoid any excess scents if possible. Wool-specific wash is available. But when this works, why pay extra?
Step 2: Fill the sink with tepid water. Test with wrist.
Step 3: Add baby wash.
Step 4: Add wool. Notice my wool soaked up water over it's entire body. This cover has never been lanolized.
Step 5: Swish wool around a bit. Make some bubbles.
Step 6: Check the clock. Let wool sit for five minutes.
In that five minutes you could:
Unload the dishwasher.
Make a pot of coffee.
Feed the dog.
Ding! Five minutes are up. Go back to your wool.
Step 8: Swish it around a bit more.
Step 9: Massage gently. Using both hands. Hey, someone has to hold the camera!
Step 10: Turn wool inside out.
Step 11: Rinse thoroughly in tepid water.
Step 12: Squeeze out excess water. Set aside.
Step 13: Locate your wool wash, your lanolin, and your mixing container with lid. I'm using regular solid lanolin purchased from a local retailer. Liquid lanolin will work, also. But this stuff is cheaper and it lasts longer. Remember, we're cloth diapering to save money.
Step 14: Add a pea-sized drop of lanolin to your mixing container.
Step 15: Add a pea-sized drop of wool wash to your container.
Step 16: Fill halfway with HOT water. As hot as your tap will go.
Step 17: Shake like mad until everything mixes into a nice creamy colored liquid.
Step 18: Fill sink with tepid water. Continue shaking like mad.
Step 19: Check for nice creamy mixture. No blobs of lanolin left.
Step 20: Put wool into sink full of tepid water.
Step 21: Add lanolin mixture a little bit at a time. My container has a squeeze top. If you're using a baby food jar or a tupperware, just try not to add it all in one spot.
Step 22: Rinse container with tepid water. Pour water into sink with the rest of the lanolin. Every bit counts!
All gone!
Step 23: Swish around your wool a bit. Turn wool over.
Step 24: Let wool sit for five to ten minutes. I chose five because I know Kellie is due to wake up from her nap any minute. If you have ten minutes, go for it.
In that five minutes you could:
Enjoy the cup of coffee you brewed earlier.
Make the dog move out of your chair so you can 'Pin.
Check your posts.
Start a load of diaper laundry.
Ding! Five minutes are up!
Step 27: Drain the water. Hold onto wool so it doesn't fall into your disposal. Believe me. It happens.
Step 28: Fold wool.
Step 29: Squeeze out excess water.
Step 30: Lay wool on towel.
Step 31: Roll it up and squeeze out excess water. It's amazing how much wool can absorb, isn't it??
Step 31: Unroll.
Step 30: Relocate wool to a drying rack or some other well-ventilated area to dry. The drying process can take up to 48 hours. Good thing I didn't take pictures of that, right?
And you're done! You lanolized your wool and didn't get a single lanolin spot! Give yourself a pat on the back. I'm off to get Kellie. She'll be hungry by now.